
2. Uploading G-Codes
Uploading your file
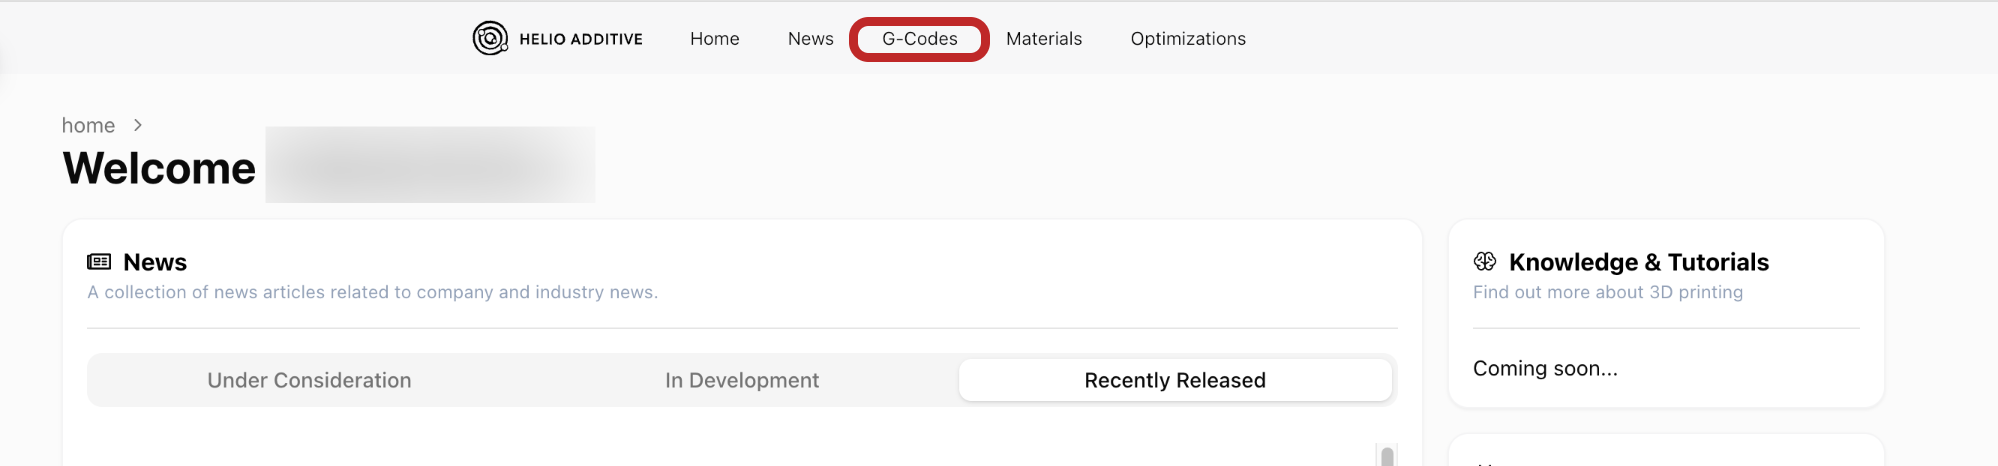
Section titled “Uploading your file”2.1 On the homepage, click on the “G-codes” tab to enter the G-code list page.
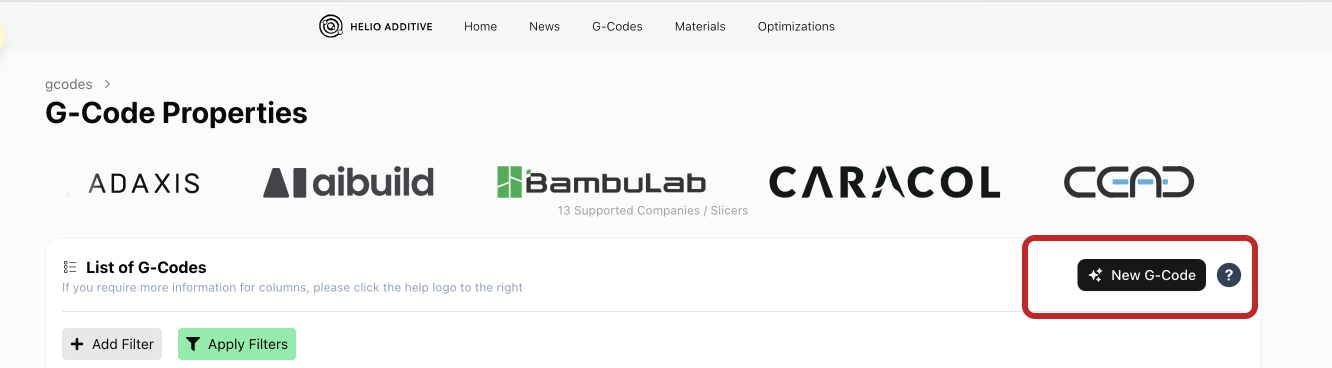
2.2 Enter the G-code upload form:
On the G-code list page, click “New G-code” to go to the “Add a new G-code” page.
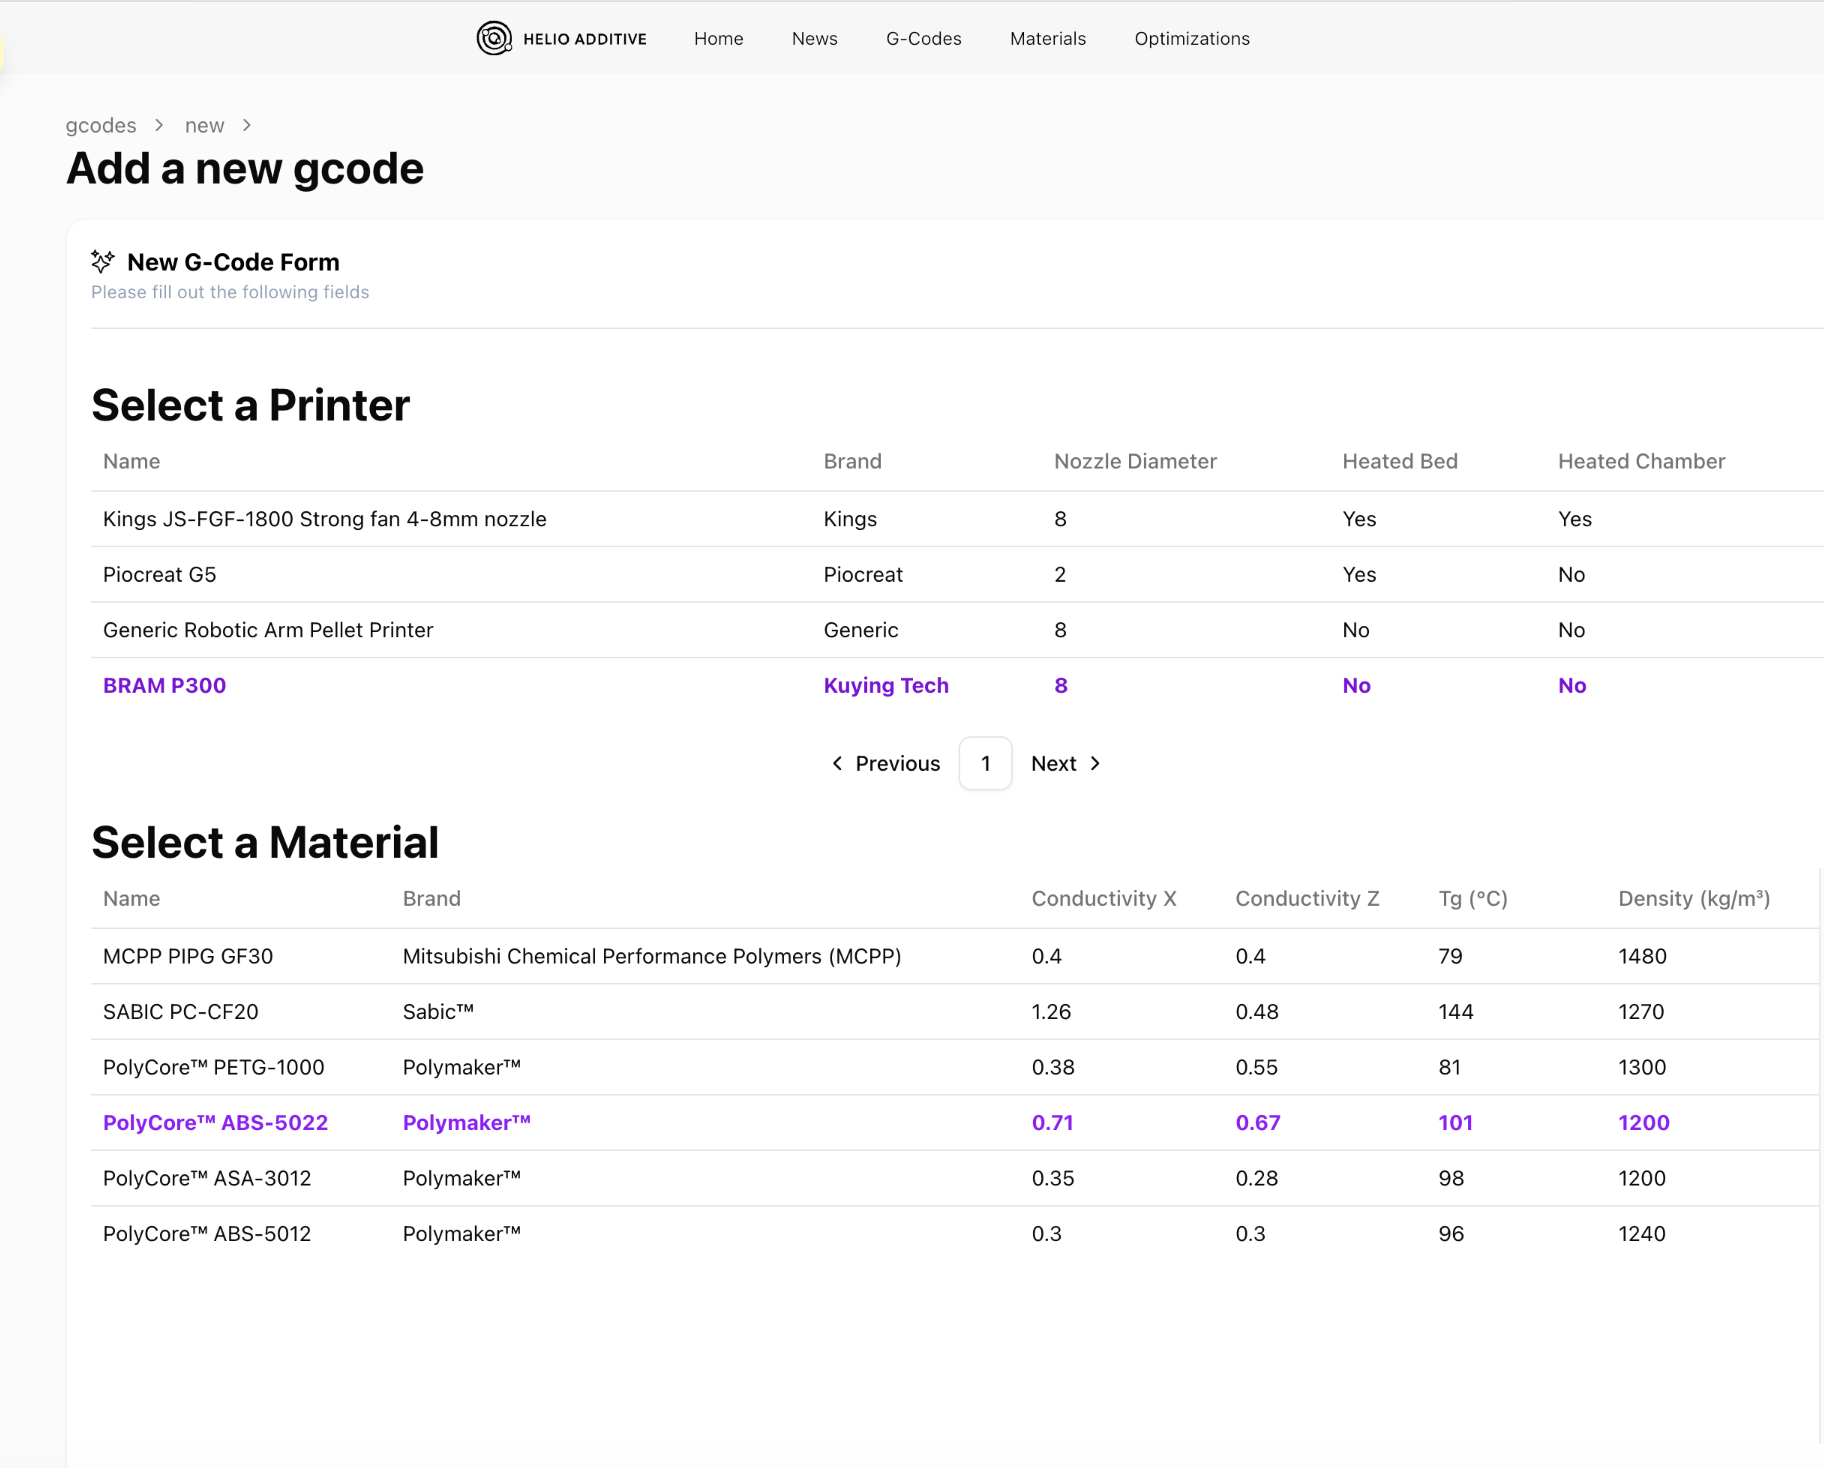
2.3 Pick your printer and material:
On the upload page, select the printer and material in sequence.
Once successfully selected, the material or printer name will appear in purple.
2.4 Upload your G-code file:
Drag and drop the G-code file into the ‘Upload a G-code’ area or click the box to select a file from your device. You can upload your file in either .gcode, .ada3dp, .mpf or .src formats.
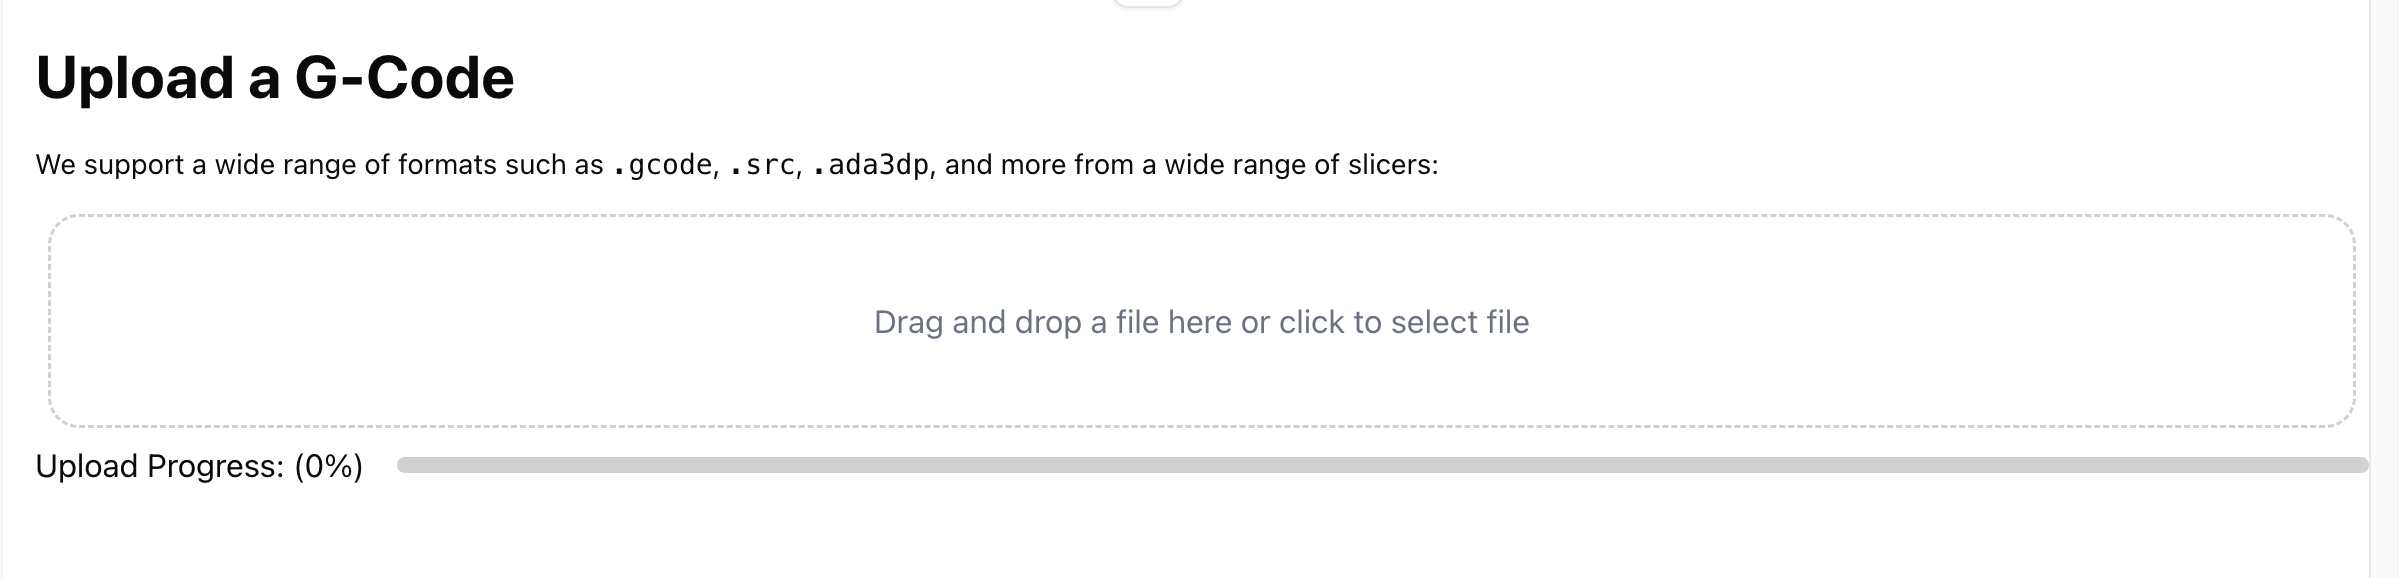
The G-code upload progress bar will show the process, and once uploaded, the file will appear in the ‘Files’ box below, confirming the upload was successful.

2.5 Give your G-code a unique name to track it easily after upload
2.6 Single vs multi-shell objects: If your object is single-shelled, toggle on single shell.
2.7, 2.8 , 2.9 & 2.10 Nozzle temperature, layer height, line width nozzle temperature: For most supported slicers, these values are automatically read from the G-code.If not, please set them manually here
2.11 Next, click ‘Create new G-code’ to upload the file to the system
- Once the G-code is successfully uploaded, a message saying “G-code created successfully” will appear in the bottom right corner of the page.

- If anything’s missing from your file or is not in a supported format, you’ll see an error message here letting you know what details to enter or the reason for the error.If you cannot resolve the errors on your own, contact us via the dashboard, or email.
2.12 Viewing and editing the G-codes:
-
Once your uplaoded file is in the system, key G-code information will be displayed in the “List of G-codes.”
-
Check that the Material, Nozzle Temperature (℃), Layer Height (mm), Layer Width (mm), and Number of Layers are correct.
To edit the nozzle and platform temperatures, simply click the ‘pen’ icon next to the gcode whose details you want to edit as follows:

Only the values you change will be marked as ‘Overridden’, so you can easily spot what’s been updated from the original G-code as follows:

- Layer change comments – Especially important for angled printing. These help the software correctly interpret the build sequence.
- Layer height and line width – Important for the software to accurately interpret the object geometry.
- Layer speeds for .src file format – Since our optimisations adjust print speed for optimal thermal conditions, having the original speed values ensures accurate results.
We currently support the following slicers:
| Orca Slicer | Bambu Studio |
| IdeaMaker | Cura |
| AdaOne | Prusa Slicer |
| Piocreat | Simplify3D |
| Siemens NX | Geoslicer |
| Krauss Maffei |
If you use a custom slicer and would like us to add support for it, please leave a comment on the dashboard or contact support@helioadditve.com
G-code Requirements & Limitations
Section titled “G-code Requirements & Limitations”To get the best results from Dragon, please keep the following in mind:
✅ Supported
Section titled “✅ Supported”- Standard single-extruder G-code files generated by slicers like Orca Slicer, Bambu Studio, Simplify3D, and PrusaSlicer
- G-code with well-defined print speeds, layer heights and line widths
- .mpf files for 45-degree prints, with automatic reading of layer height, line width, and detection of layer changes. NEW
⚠️ Not Supported
Section titled “⚠️ Not Supported”- Multi-extruder prints
- Multi-body prints (separate objects with independent toolpaths in a single file)
- Custom or nonstandard G-code formats not generated by mainstream slicers
- G-code without speed commands (Dragon requires defined print speeds to optimize)
🔒 Toolpath Integrity
Section titled “🔒 Toolpath Integrity”Dragon does not modify your toolpath geometry. It only adjusts layer print speeds and consequently print times. This ensures your part geometry, extrusion paths, and printer instructions remain exactly as intended by your slicer.
🔹 For standard FDM parts, only infill speeds are optimized.
🔹 For single-shell or vase mode parts, all extrusion paths are optimized, and travel moves remain unchanged.